图片
Quarto 包含许多功能,旨在使图片和附图的处理以及包含多个数字、表格或其他内容的面板的布局更加方便。
图片基础
在 Pandoc markdown 中,每当一个段落中出现一张带标题的图片时,就会创建一个数字。例如
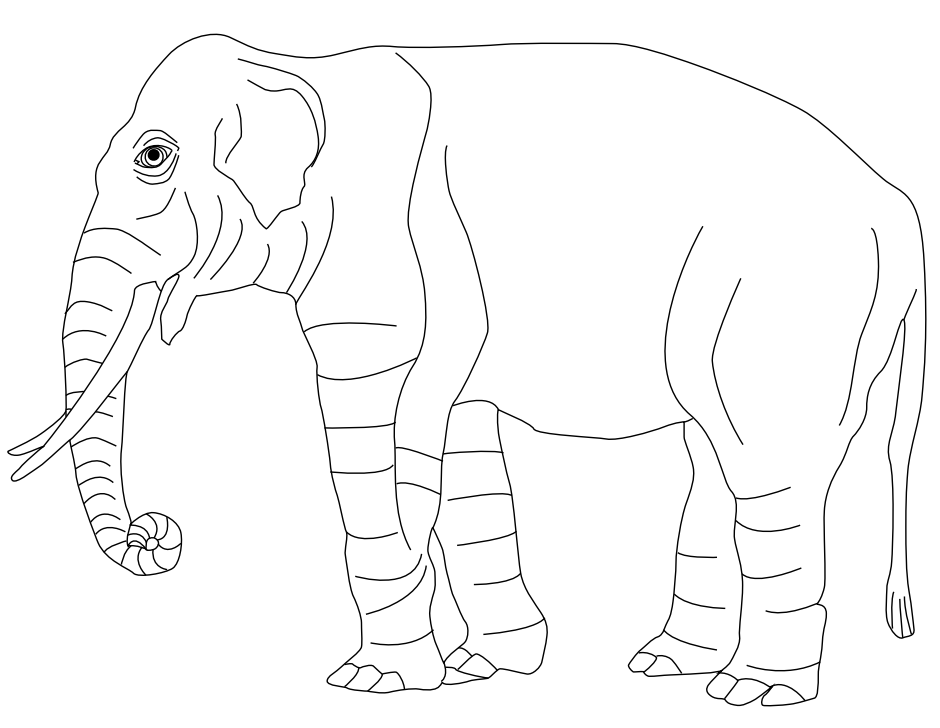因此,各种输出类型的处理方法如下:
| HTML | Word | |
|---|---|---|
 |
 |
 |
请注意,对于 LaTeX / PDF 输出,数字会自动编号(您可以使用 交叉引用,为其他格式的数字安排编号)。
图片尺寸
默认情况下,图片以其实际大小显示(受所渲染页面的宽度限制)。您可以通过为图片添加 width 和 height 属性来更改显示尺寸。例如:
{width=300}请注意,如果只指定了 width,则会自动计算 height。如果需要修改默认行为,只需添加明确的 height 属性即可。
width 和 height 的默认单位是像素。您也可以使用百分比或英寸或毫米等传统度量单位指定尺寸。例如:
{width=80%}
{width=4in}图片链接
在使用 Quarto 进行渲染时,您可以在链接中包含一个图片,但在输出时仍将其视为有标题的图片。例如:
[](https://en.wikipedia.org/wiki/Elephant)图片对齐
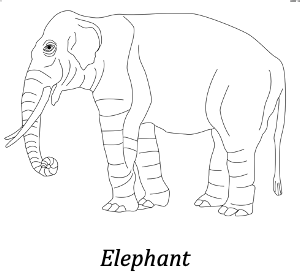
图片默认居中对齐。要使用不同的对齐方式,请在图片中添加 fig-align 属性。例如:
{fig-align="left"}请注意,图片标题左对齐是为了容纳较长的标题文字(居中对齐时看起来很奇怪)。
文本选项
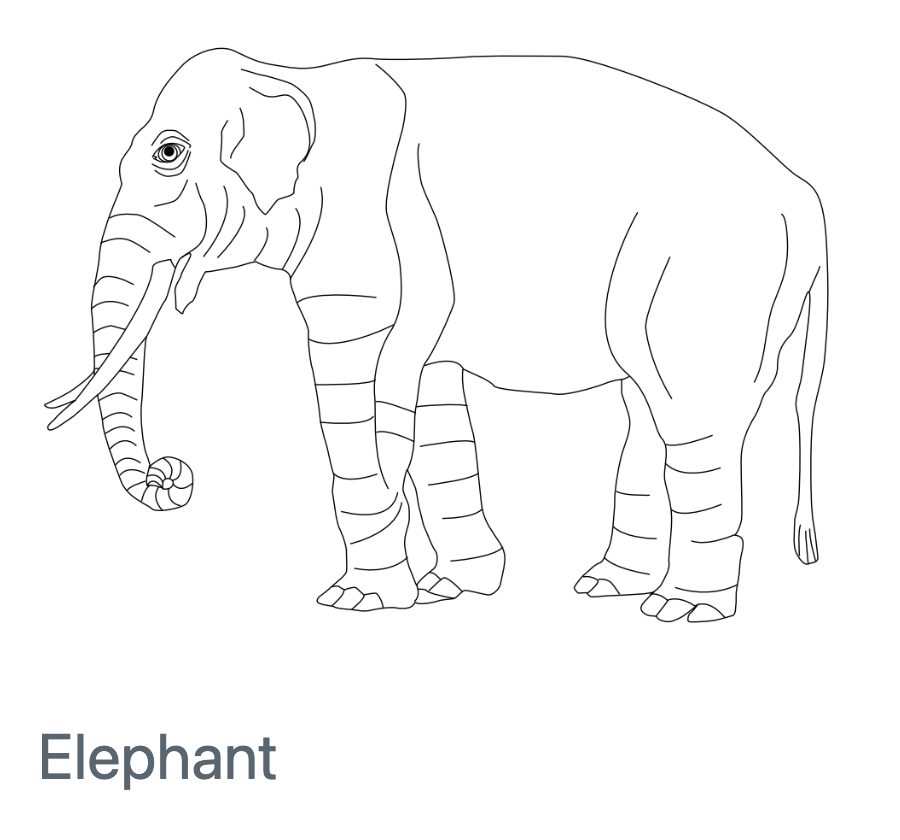
您可以通过为图片添加 fig-alt 属性来为图片添加替代文本。例如,下面的 Markdown…
{fig-alt="A drawing of an elephant."}… will create the following HTML with the corresponding alt tag:
<img src="elephant.png" alt="A drawing of an elephant.">请注意,图片标题、标题和 alt 文本都可以不同。例如,以下代码…
{fig-alt="A drawing of an elephant."}…produces this HTML:
<img src="elephant.png" title="Title: An elephant" alt="A drawing of an elephant.">多格式图片
您可以根据目标输出格式编写提供不同图像文件格式的标记符。要做到这一点,只需省略扩展名即可,例如:
默认情况下,它会查找 elephant.png,但如果要渲染为 PDF,则会查找 elephant.pdf。你可以使用 default-image-extension 选项自定义这种行为。例如:
format:
  html:
    default-image-extension: svg
  pdf:
    default-image-extension: tex
灯箱图
在 HTML 输出格式中,您可以为图片添加灯箱样式和行为,以便读者点击查看图片的放大版本。例如,下面的图片就采用了灯箱处理(点击图片查看灯箱效果):

Lightbox treatment can be added by adding the class .lightbox to an image:
{.lightbox}有关详情以及启用和禁用灯箱处理的其它方法,请参阅 灯箱图。
多重参数
要组合上述方法,可以用空格分隔参数,例如
{fig-alt="A drawing of an elephant." fig-align="left" width=20%}交叉引用
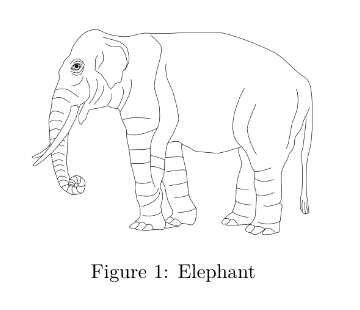
您可以通过添加带 fig- 前缀的 ID 来交叉引用图片,然后使用 @ 前缀引用数字。例如
{#fig-elephant}
@fig-elephant 很好地诠释了这一点。对于由可执行代码单元生成的图片,请在 “标签”中加入 “fig-”前缀,以便交叉引用。例如
有关折线图的演示,请参阅 @fig-line-plot。

```{python}
#| label: fig-line-plot
#| fig-cap: "A line plot "

import matplotlib.pyplot as plt
plt.plot([1,23,2,4])
plt.show()
```为使图表可相互参照,其标签必须以 fig- 前缀开头。
更多详情,请参阅 交叉引用 一文。
附图
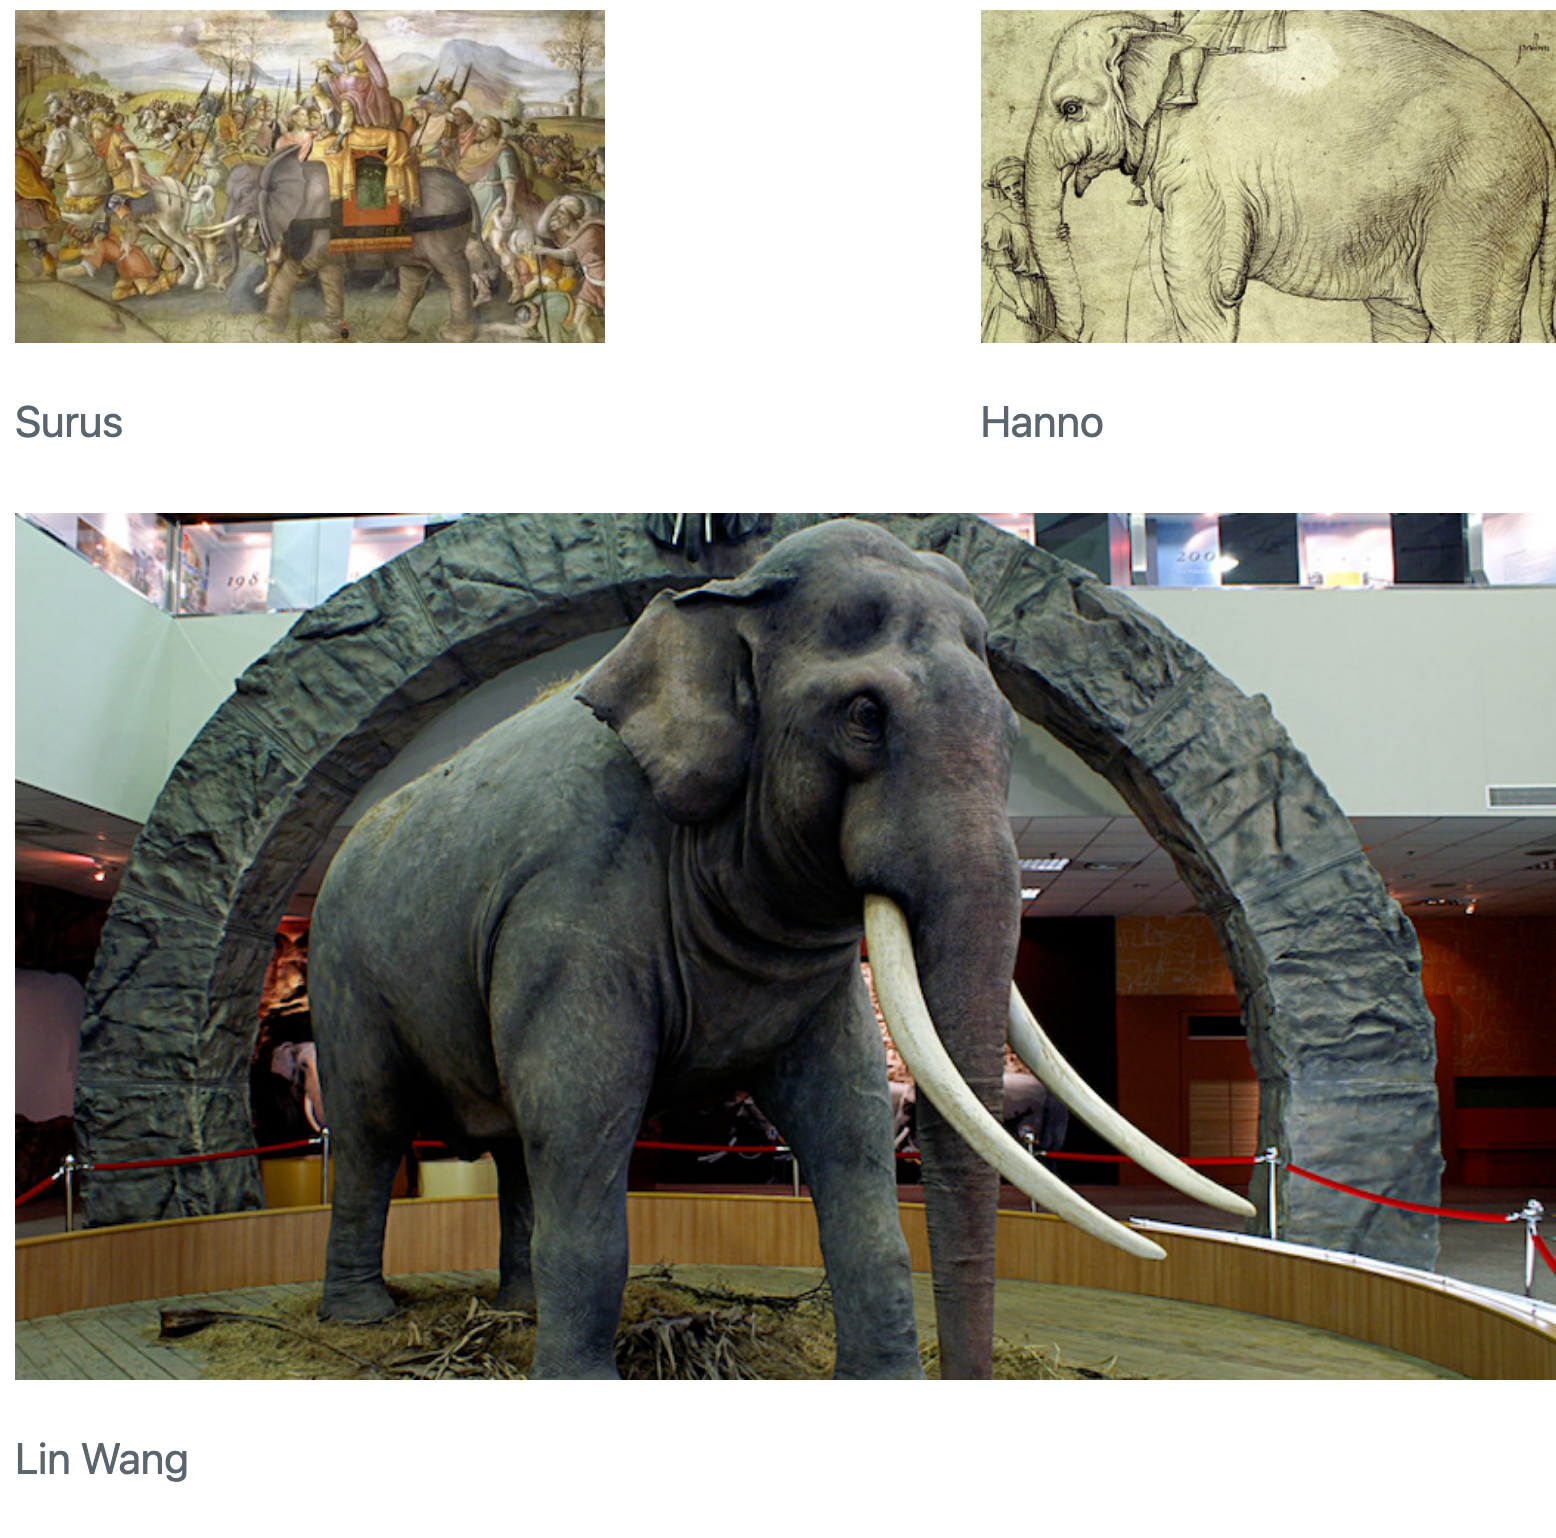
如果有几个图片作为一组出现,可以创建一个数字 div 将它们包围起来。例如
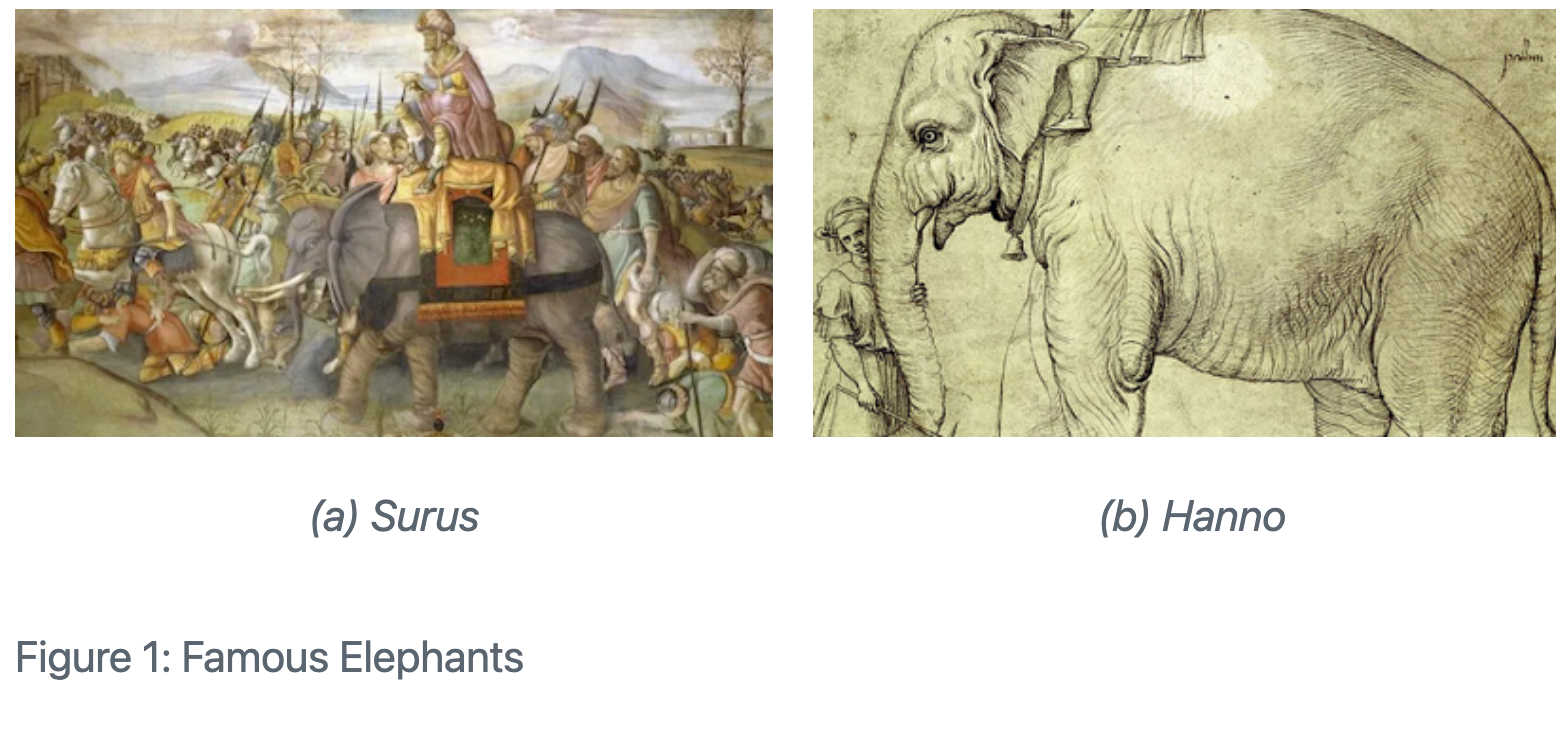
::: {#fig-elephants layout-ncol=2}
{#fig-surus}
{#fig-hanno}
Famous Elephants
:::同样,最后一段提供了主标题,各个图片则带有副标题。下面是以 HTML 格式呈现的内容:
请注意,图与图(以及最后一幅图与标题之间)之间的空行是必需的(这表示这些图片属于各自的段落,而不是同一段落中的多幅图片)。
还请注意,我们还使用了 layout-ncol属性来指定双栏布局。下一节将深入探讨自定义图片布局。
图片面板
上面我们演示了两个并排数字的布局,并配有副标题和主标题。您可能需要,也可能不需要标题/副标题处理,还可能需要使用多行图片。所有这些变化都是可能的。
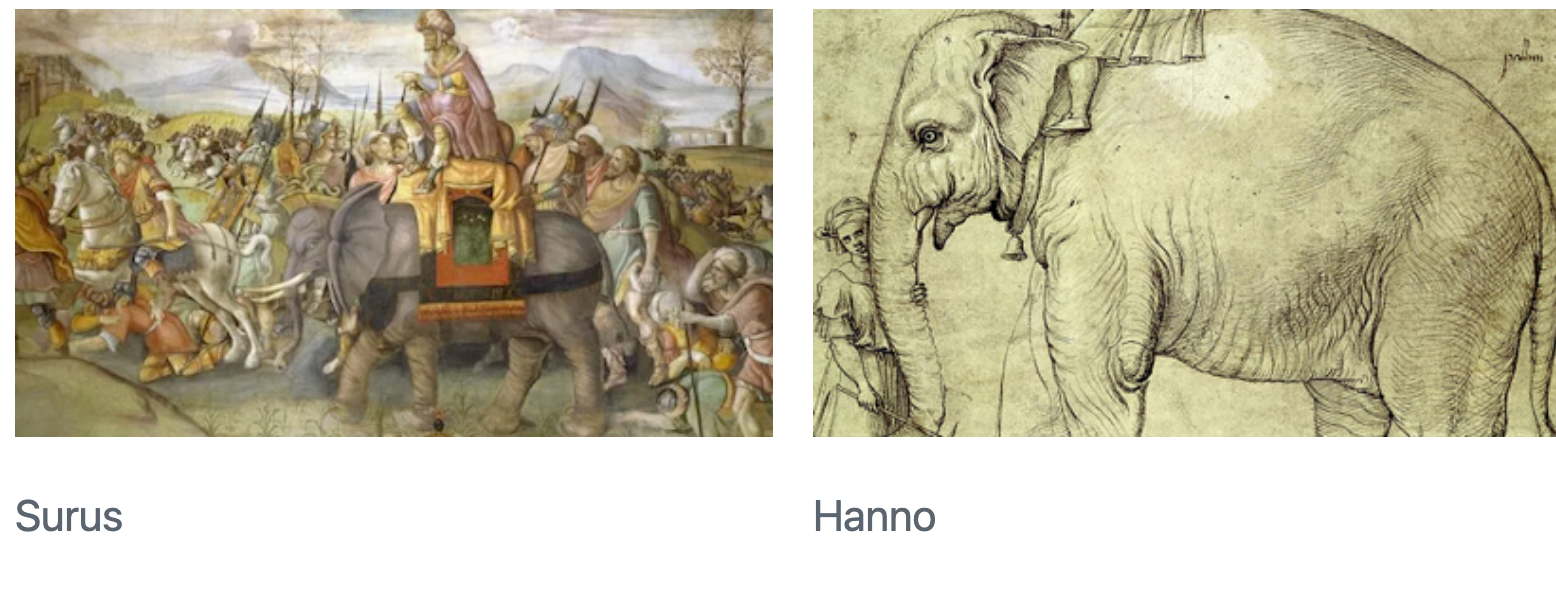
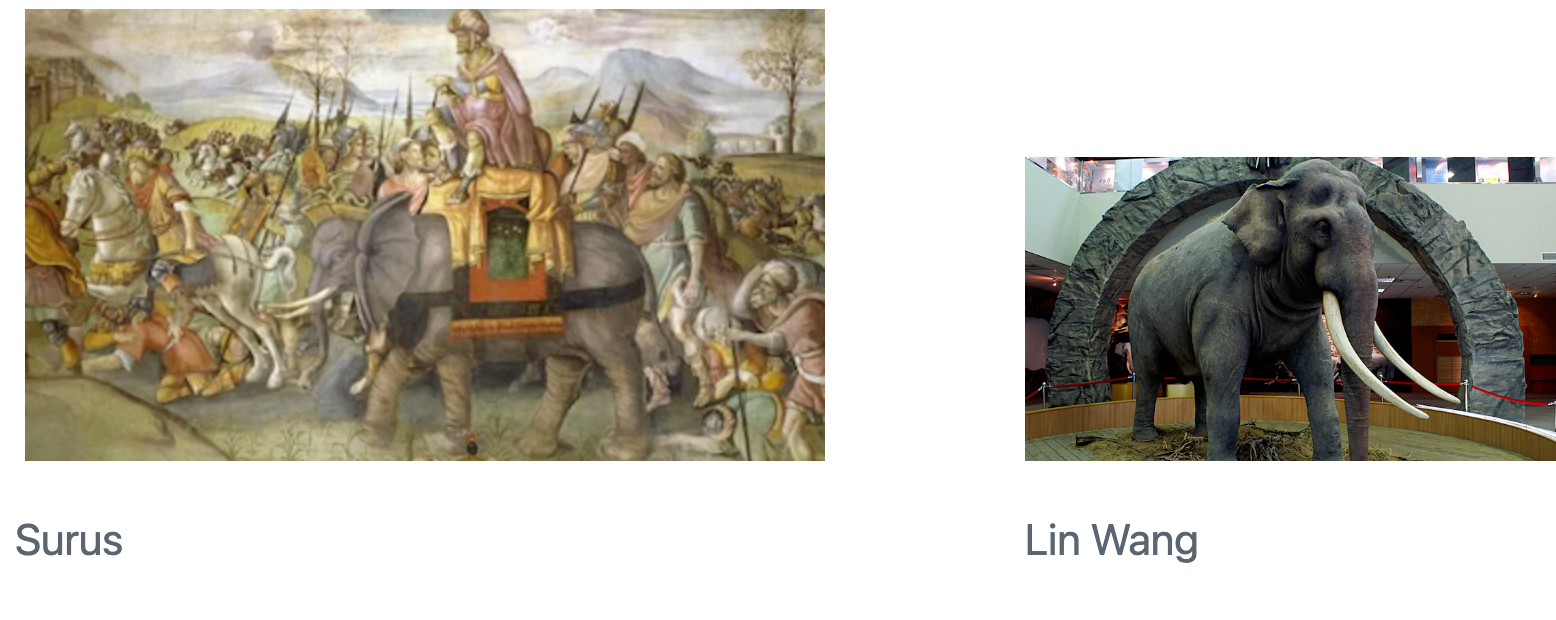
要布局两个带有各自独立标题(无主标题)的图片,只需去掉底部的#fig标识符和主标题即可:
::: {layout-ncol=2}


:::
也可以删除字幕:
::: {layout-ncol=2}


:::多行
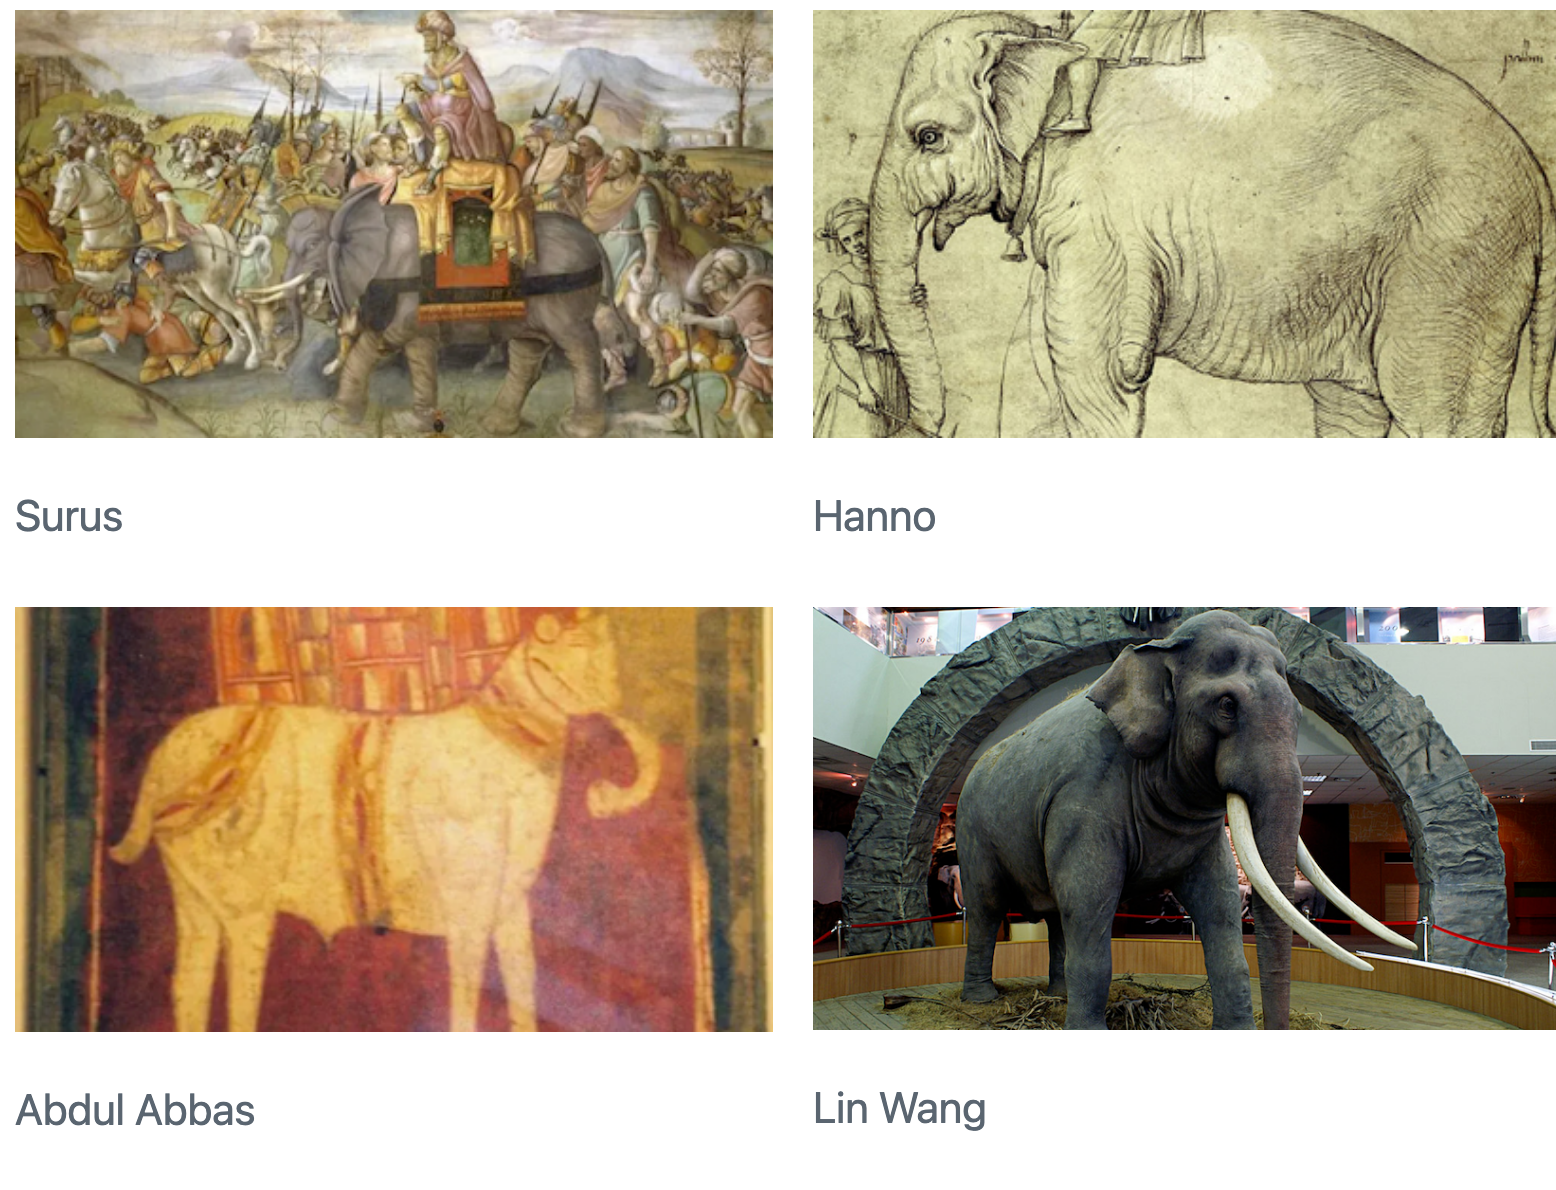
如果有 2 张以上的图片,您可能希望将它们分排在多行中。您可以使用 layout-nrow 属性来实现这一目的。例如
::: {layout-nrow=2}


:::
还可以采用更复杂的图形排列方式(例如具有不同列布局的行)。详情请参阅下面的 自定义布局部分。
图片 Divs
您可以将任何标记符内容作为图片处理,只需将其封装在 Pandoc div 块中,并以 #fig- 作为前缀的标识符即可。例如,在这里我们创建了一个包含嵌入式 iframe 的图片:
::: {#fig-elephant}

<iframe width="560" height="315" src="https://www.youtube.com/embed/SNggmeilXDQ"></iframe>

Elephant
:::
请注意,div 块中的最后一段被用作图片标题。
LaTeX 图
本节将介绍一些针对 LaTeX 输出的图形处理选项。
需要注意的一点是,使用下面描述的 fig-env 和 fig-pos 选项会触发创建一个 LaTeX 浮动环境(通常是 \begin{figure})。根据生成 LaTeX 的位置(例如,是否在另一个 \begin{figure} 中),这可能会生成无效的 LaTeX。为了安全起见,这些属性通常只能用于文档顶层的图像。
图片环境
有许多 LaTeX 软件包提供自定义的图片环境。例如,在双栏格式中,figure* 环境横跨文档的两栏。您可以明确地将要使用的图形环境作为图像或 div块 的 fig-env 属性传递:
{#fig-elephant fig-env="figure*"}
::: {#fig-elephant-2 fig-env="figure*"}

Another elephant.
:::图片位置
默认的 LaTeX figure 是一个浮动环境,因此它在文档中出现的具体位置将取决于其大小和周围其他内容的性质。你可以使用 fig-pos 选项来控制这种行为。fig-pos 选项为 figure 环境提供了一个位置指定器。例如,本 LaTeX 代码段中的 ht 就是 fig-pos 选项:
\begin{figure}[ht]

\end{figure}
您可以在文档级别、作为可执行代码块选项或在标记符中指定 fig-pos 。在这里,我们三者兼顾:
---
title: "My Document"
format:
pdf:
fig-pos: 'h'
---
```{python}
#| fig-pos: 't'
```
{fig-pos='b'}有关 LaTeX 图形定位的更多详情,请参阅本文。
如果您的图表是由可执行代码块生成的,并且代码包含在输出中(echo: true),那么fig-pos将默认设置为H(以尽量使其与生成它的代码保持一致)。在所有其他情况下,除非指定明确的 fig-pos ,否则将使用默认的 LaTeX 处理图的位置。
PGF/TikZ Graphics
如果您正在创建 LaTeX 输出,Quarto 将自动为引用包含 PGF/TikZ 矢量图形的 .tex 文件的标记符图像输出正确的 LaTeX。例如,以下标记符图像:

{width=80%}Will be written to LaTeX as:
\input{image1.tex}

\resizebox{0.8\linewidth}{!}{\input{image2.tex}}如上所示,width 和height 百分比会自动按比例转换为 linewidth。或者,你也可以为 \resizebox 的 width 和 height 参数指定自定义的 LaTeX。
标题位置
默认情况下,图表标题位于图表下方。在 HTML 和 PDF 格式中,您可以使用 “fig-cap-location”选项修改这一行为。例如
---
fig-cap-location: top
---
请注意,该选项是在顶层指定的,因此 PDF 和 HTML 格式都可以共享。如果只针对一种格式,可以将其与其他 “格式”特定选项放在一起。
标题位置的有效值包括
| Value | Description |
|---|---|
top |
标题置于图片上方。 |
bottom |
标题置于图片上方。 |
margin |
标题置于页边空白处. |
请参阅[文章布局](article-layout.qmd#margin-captions “Article Layout”)一文,了解在页边空白处放置标题的更多详情。
自定义布局
上述示例使用 layout-ncol 或 layout-nrow 属性创建了所有列大小相同的直接布局。通过 layout 属性,可以创建更为复杂的布局。
例如,这定义了一个布局,在第一行有两个大小相等的图片,然后另一个图片横跨整个第二行:
::: {layout="[[1,1], [1]]"}


:::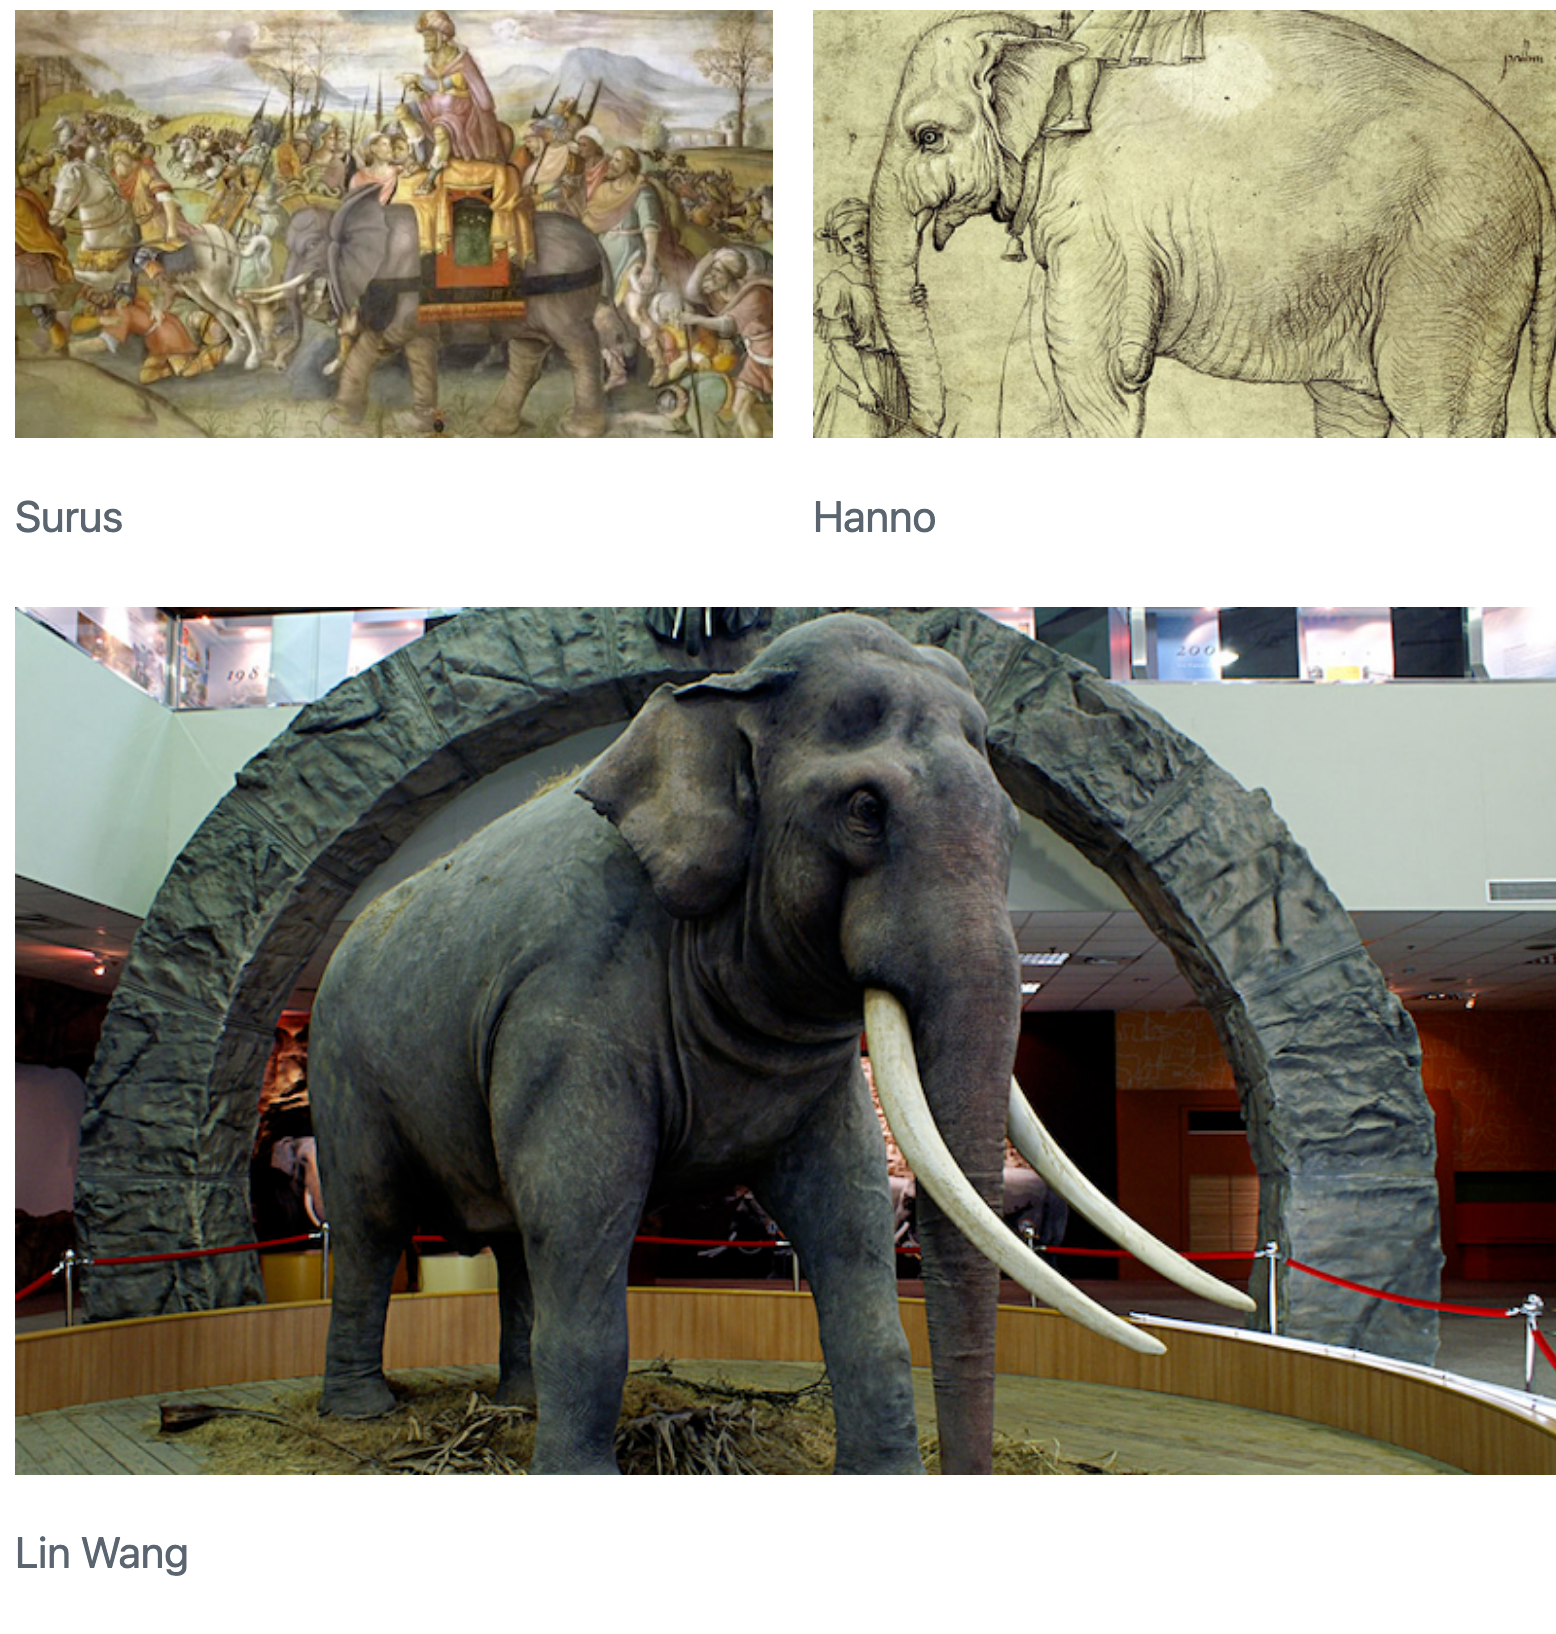
layout 属性是一个二维数组,第一维定义行,第二维定义列。在本例中,"layout="[[1,1], [1]]"表示:创建两行,其中第一行有两列大小相等的行,第二行只有一列。
请注意,一行中的数字是任意的,不需要加起来就是一个特定的总数。因此,您可以使用任何最自然的方案。例如,在这里我们定义了占行宽度百分比不同的列:
::: {layout="[[70,30], [100]]"}


:::还可以使用负值在元素之间创建空间。例如
::: {layout="[[40,-20,40], [100]]"}


:::
垂直对齐
如果布局中有一排高度不同的图片,可以使用 layout-valign 属性控制它们的垂直对齐方式。举个简单的例子
::: {layout="[15,-2,10]" layout-valign="bottom"}


:::
请注意,垂直对齐不仅限于图像,您还可以垂直对齐面板中的任何其他元素。
计算方法
可执行代码块生成的图片会自动包含在文档中。 要设置 ID、标题和链接,请分别使用块选项 label、fig-cap 和 fig-link。 其他属性,例如 “fig-align”和 “fig-alt”,可以使用同名的 chunk 选项来设置。
你可以使用文档标题中的 “fig-width”和 “fig-height”选项来控制计算数字的默认大小。 有关这些选项的更多信息,请参阅 执行选项:图表选项。
布局
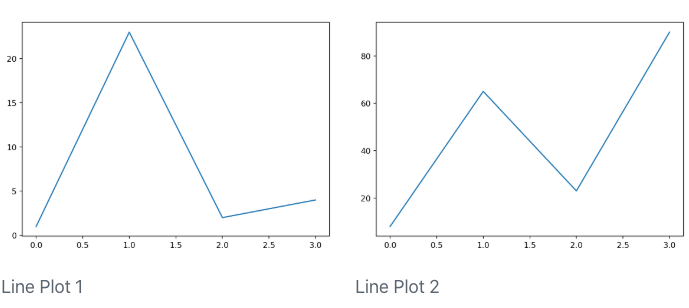
请注意,图片布局属性也适用于可执行代码块生成的图表。以下是 Jupyter 和 Knitr 的示例:
```{python}
#| layout-ncol: 2
#| fig-cap:
#|   - "Line Plot 1"
#|   - "Line Plot 2"

import matplotlib.pyplot as plt
plt.plot([1,23,2,4])
plt.show()

plt.plot([8,65,23,90])
plt.show()
```
```{r}
#| layout-ncol: 2
#| fig-cap:
#|   - "Speed and Stopping Distances of Cars"
#|   - "Vapor Pressure of Mercury as a Function of Temperature"

plot(cars)
plot(pressure)
```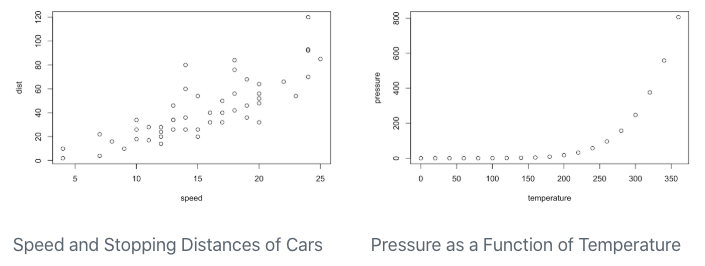
请注意,在这些示例中,我们还使用了 fig-cap 选项,为生成的每个图表添加标题。
副标题
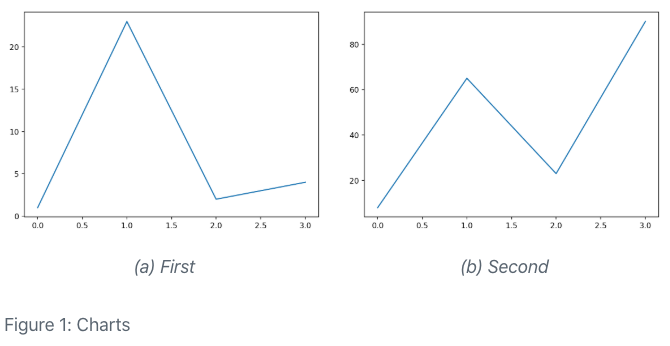
结合使用 fig-cap 和 fig-subcap 选项,你可以为计算输出创建副标题。在为计算输出应用标题时,你可以选择包含一个以 fig- 为前缀的 label –如果你这样做了,图表将被编号并可交叉引用。
```{python}
#| label: fig-charts
#| fig-cap: "Charts"
#| fig-subcap:
#|   - "First"
#|   - "Second"
#| layout-ncol: 2

import matplotlib.pyplot as plt
plt.plot([1,23,2,4])
plt.show()

plt.plot([8,65,23,90])
plt.show()
```
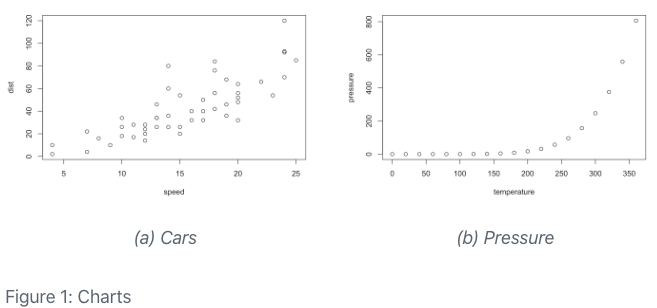
```{r}
#| label: fig-charts
#| fig-cap: "Charts"
#| fig-subcap:
#|   - "Cars"
#|   - "Pressure"
#| layout-ncol: 2

plot(cars)
plot(pressure)
```
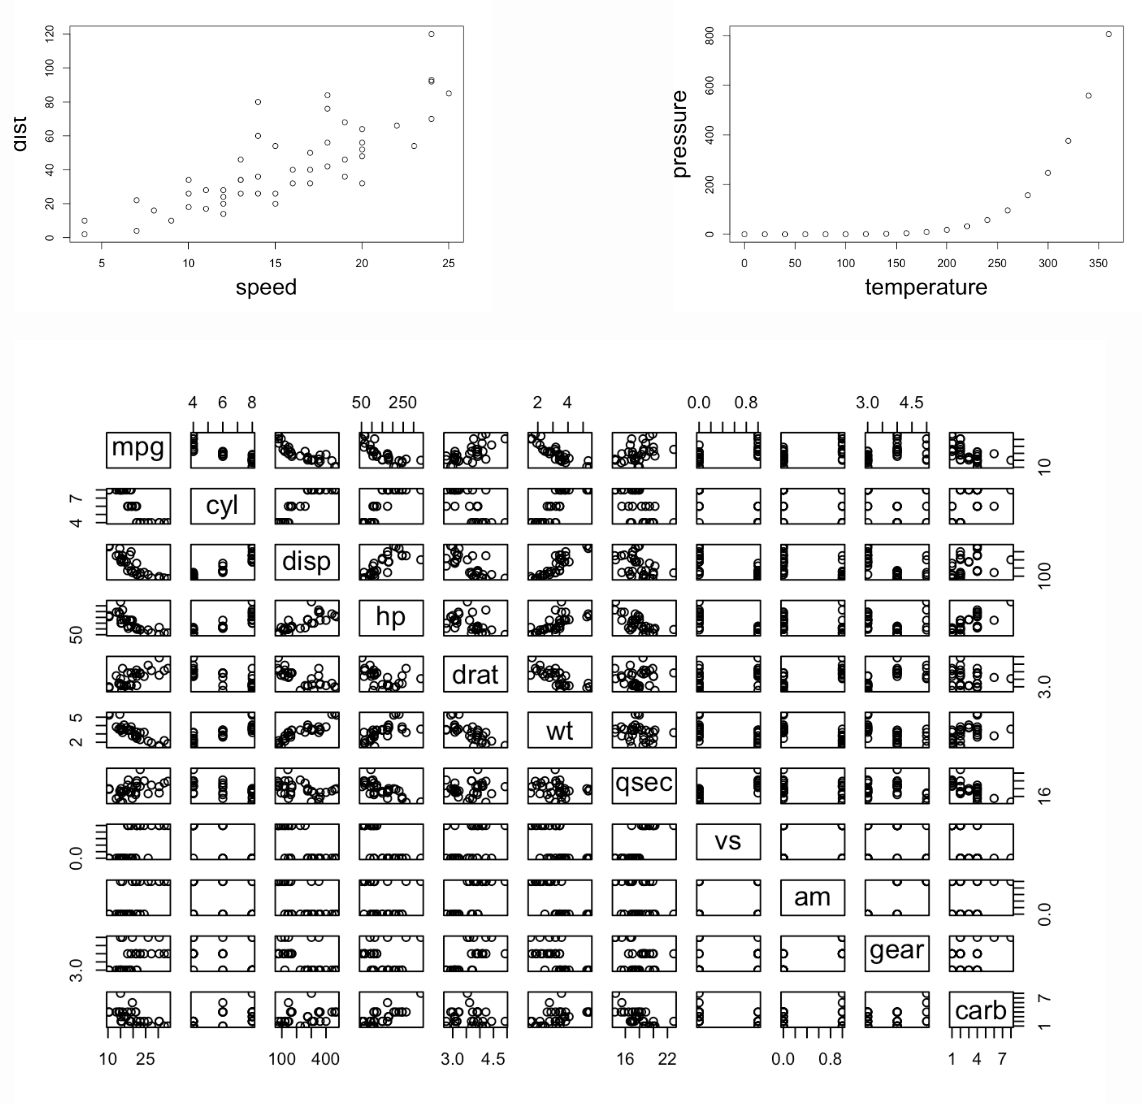
自定义布局
对于由 Knitr 或 Jupyter 生成的图形,“布局”的作用与此相同。例如,下面的 Rmd 代码块生成了 3 幅图,并为它们定义了自定义布局:
```{r}
#| layout: [[45,-10, 45], [100]]

plot(cars)
plot(pressure)
plot(mtcars)
```
区块布局
上面的例子说明了图片的布局,但需要注意的是,布局属性可用于布局任何类型的块内容。例如,我们在这里并排布局了两个列表:
::: {layout-ncol=2}
### List One

- Item A
- Item B
- Item C

### List Two

- Item X
- Item Y
- Item Z
:::
Note that headings are automatically combined with the block that follows them, so this markdown has a total of 2 columns to lay out. Here’s an example of a paragraph next to a bullet list (without headings):
::: {layout-ncol=2}
- Item X
- Item Y
- Item Z

Lorem ipsum dolor sit amet, consectetur adipiscing elit. Curabitur gravida eu erat et fring. Morbi congue augue vel eros ullamcorper, eget convallis tortor sagittis. Fusce sodales viverra mauris a fringilla. Donec feugiat, justo eu blandit placerat, enim dui volutpat turpis, eu dictum lectus urna eu urna. Mauris sed massa ornare, interdum ipsum a, semper massa.
:::
对于更复杂的内容,可以使用 divs (:::) 将内容划分成块来进行布局。例如,以下是如何将代码单元格和一些文本布局在图片旁边:
:::: {layout="[ 40, 60 ]"}
::: {#first-column}
```r
# Some code
```
应在代码下方列出一些文字
:::
::: {#second-column}

:::
::::id 属性(#first-column 和 #second-column)是可选的、 但有助于阅读。